Plastic Box Production Process
The process of manufacturing a plastic box typically involves several steps, depending on the type of plastic, the design of the box, and the intended use. Below is a general outline of the plastic box manufacturing process;
1. Design and Prototyping
Concept Design: Create a 2D or 3D design of the plastic box using CAD (Computer-Aided Design) software.
Prototyping: Develop a prototype using 3D printing or CNC machining to test the design, functionality, and fit.
2. Material Selection
Choose the appropriate plastic material based on the box’s requirements (e.g., durability, flexibility, transparency, or chemical resistance).
Common materials include:
Polypropylene (PP)
Polyethylene Terephthalate (PET)
Polyvinyl Chloride (PVC)
3. Mold Design and Fabrication
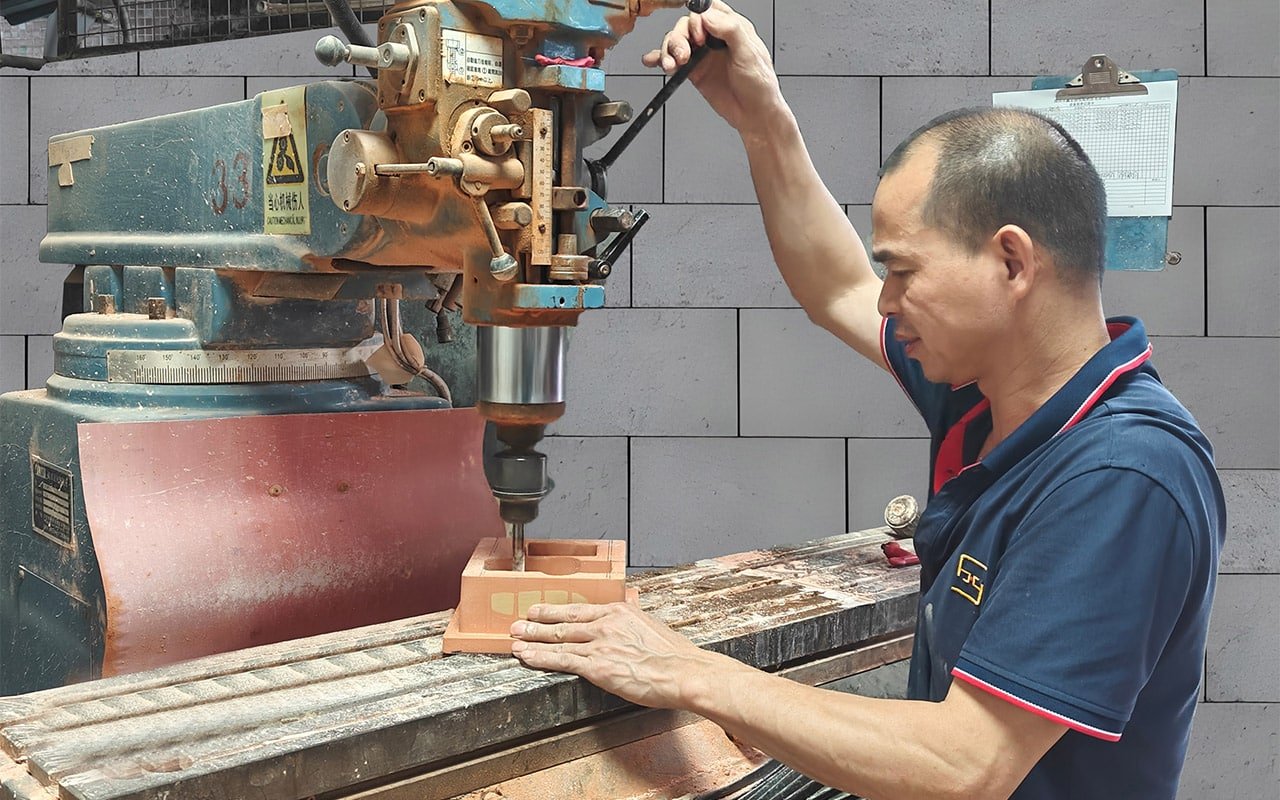
Design a mold based on the final box design.
The mold is typically made from steel or aluminum using CNC machining or EDM (Electrical Discharge Machining).
The mold must be precise to ensure the plastic box has the correct dimensions and surface finish.
4. Plastic Manufacturing Process
The most common methods for producing plastic boxes are:
Injection Molding
Plastic pellets are melted and injected into the mold under high pressure.
The molten plastic cools and solidifies into the shape of the box.
The mold opens, and the finished box is ejected.
Thermoforming
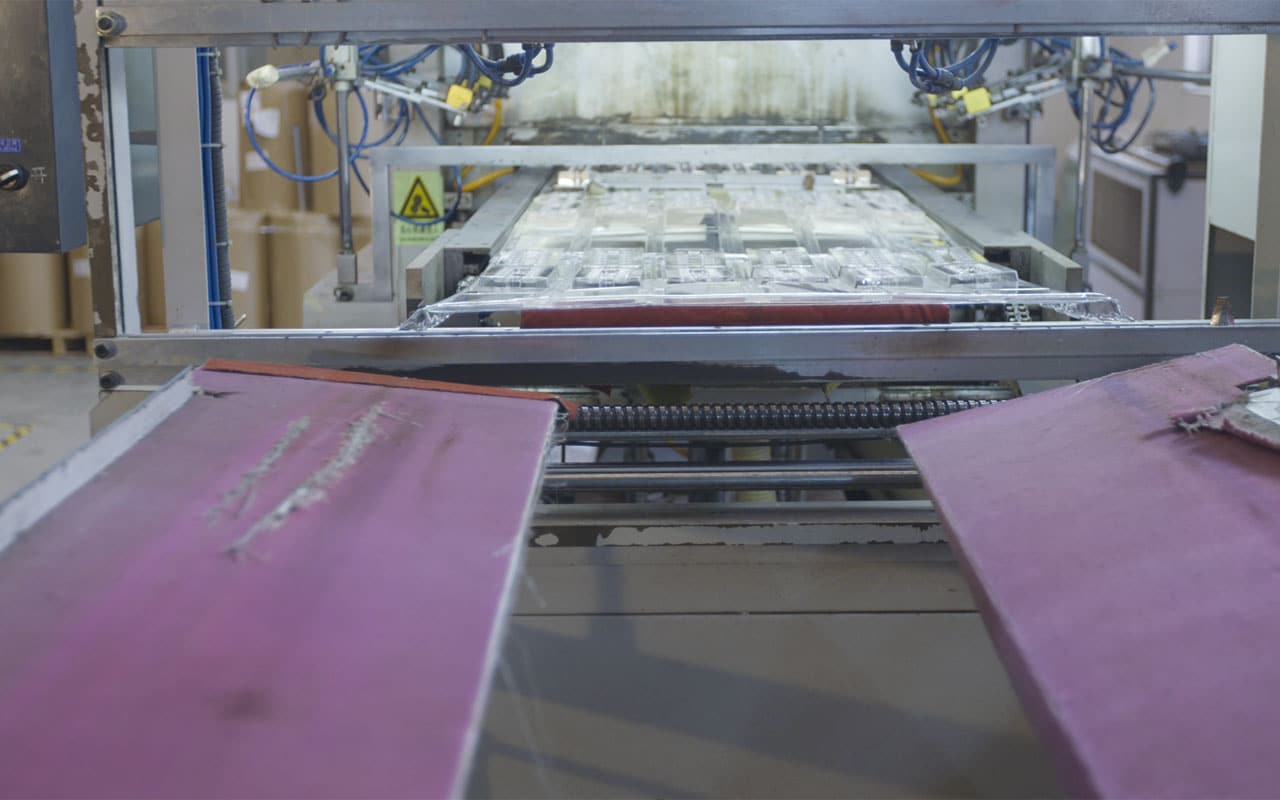
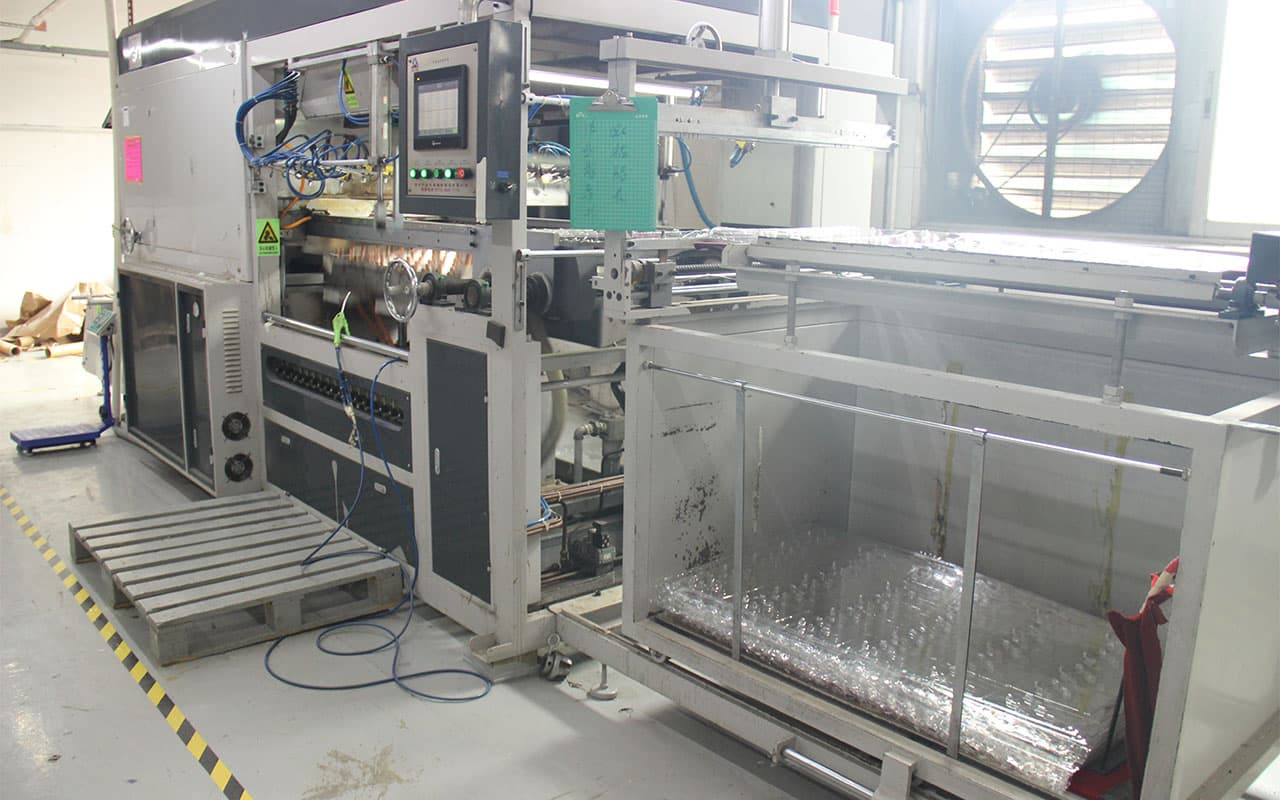
A plastic sheet is heated until pliable, then formed over a mold using vacuum pressure or mechanical force.
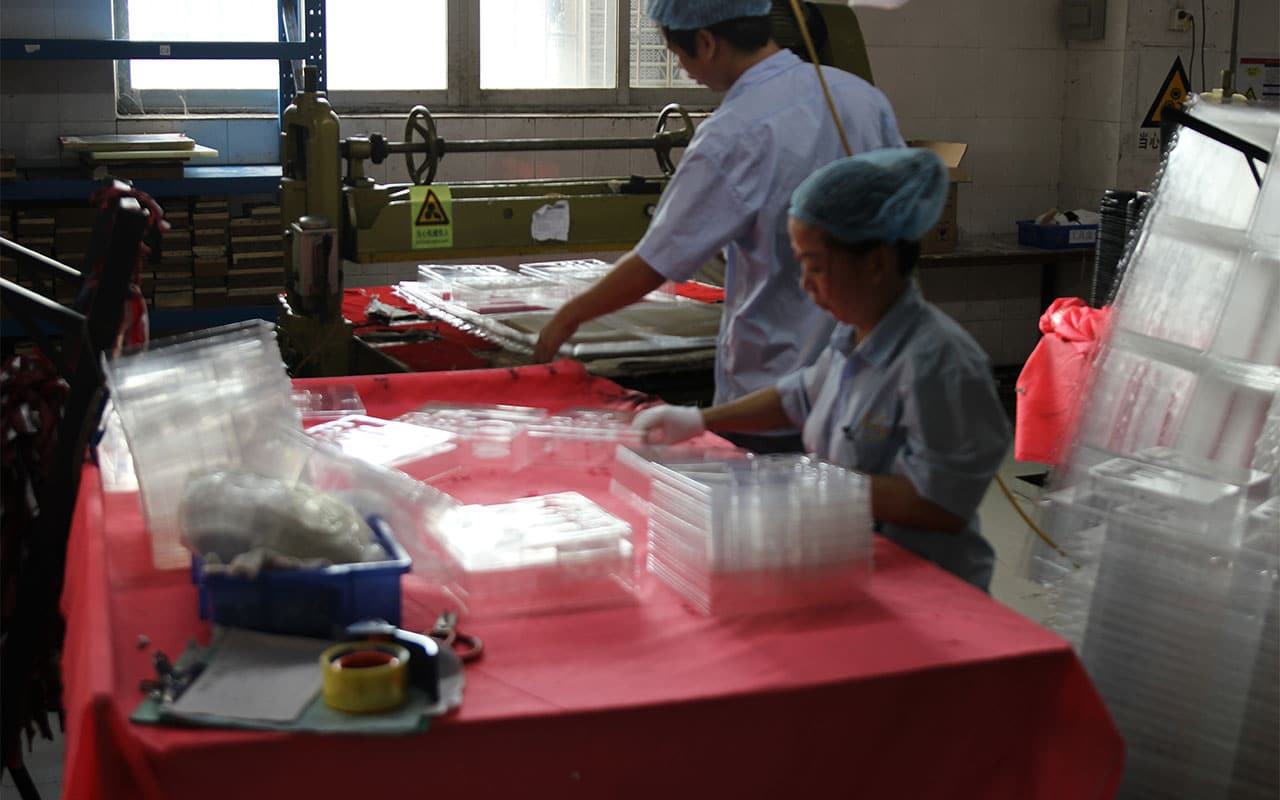
Excess material is trimmed to create the final box.
Blow Molding
Used for hollow plastic boxes or containers.
A parison (hollow tube of molten plastic) is inflated inside a mold to take its shape.
Rotational Molding
Plastic powder is placed in a mold, which is rotated and heated until the powder coats the interior and forms the box.
Post-Processing
Trimming: Remove excess material (flash) from the molded box.
Surface Finishing: Apply textures, polishing, or coatings for aesthetic or functional purposes.
Assembly: Attach hinges, handles, or other components if required.
Printing/Decoration: Add labels, logos, or designs using screen printing, pad printing, or hot stamping.
5. Quality Control
Inspect the plastic boxes for defects such as warping, cracks, or dimensional inaccuracies.
Perform functional tests (e.g., load-bearing capacity, durability, or chemical resistance).
6. Packaging and Distribution
Package the finished plastic boxes for shipping.
Distribute to customers or retailers.
This process can vary depending on the complexity of the box, the production volume, and the specific requirements of the application. Let me know if you’d like more details on any specific step!
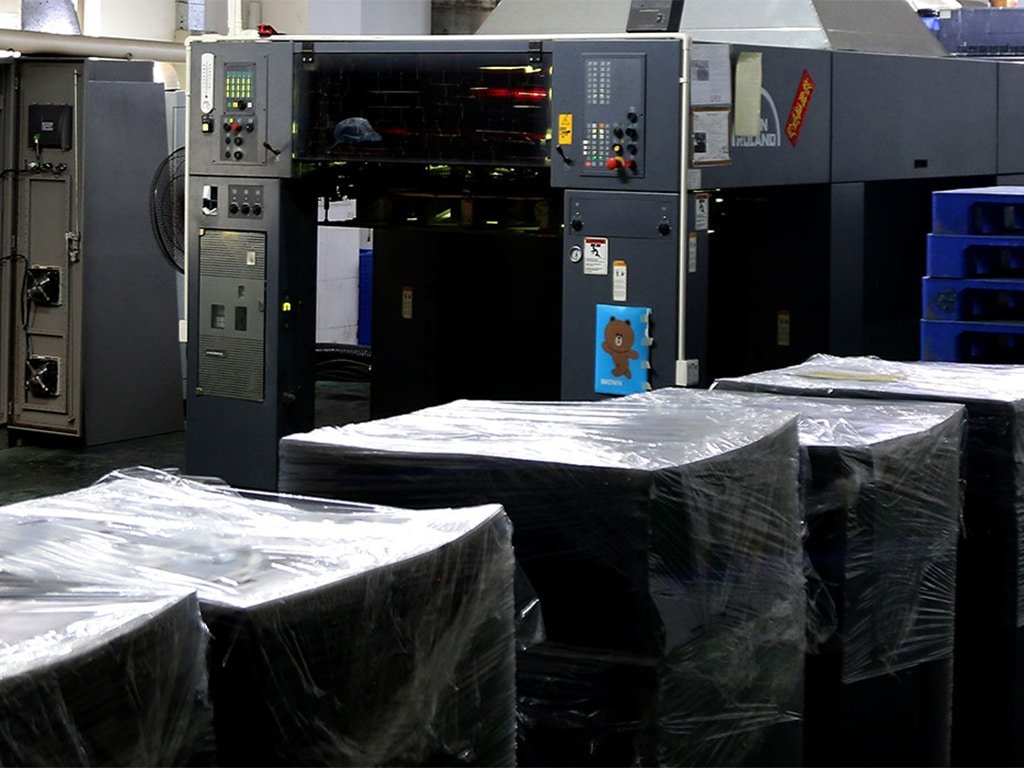
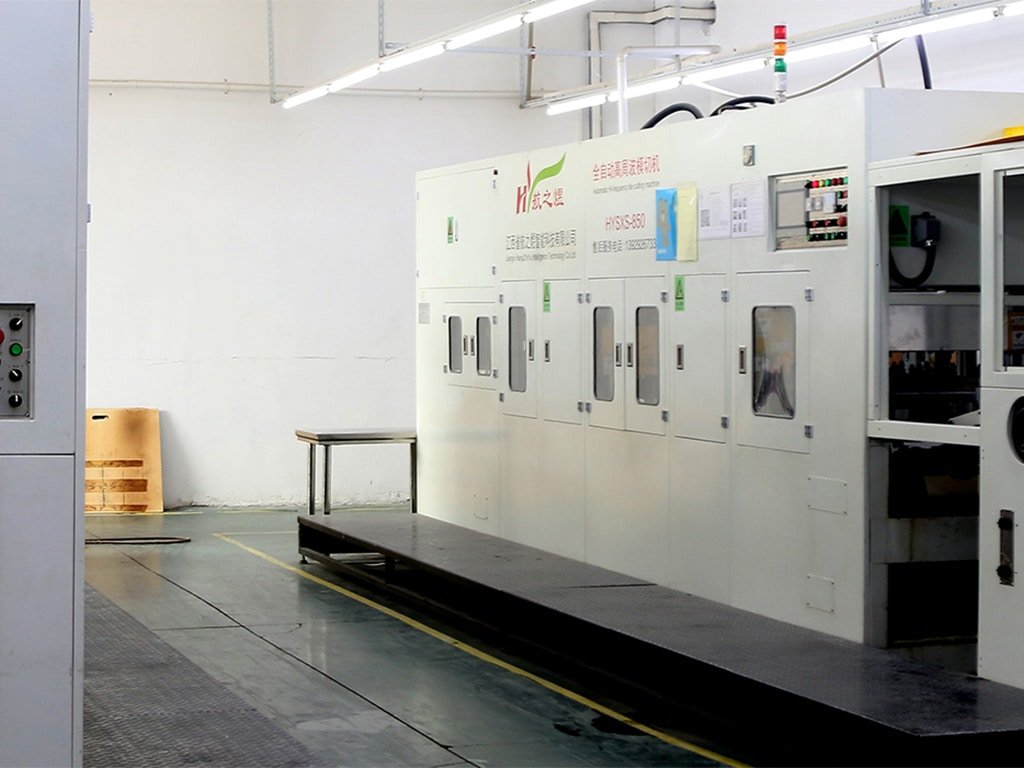
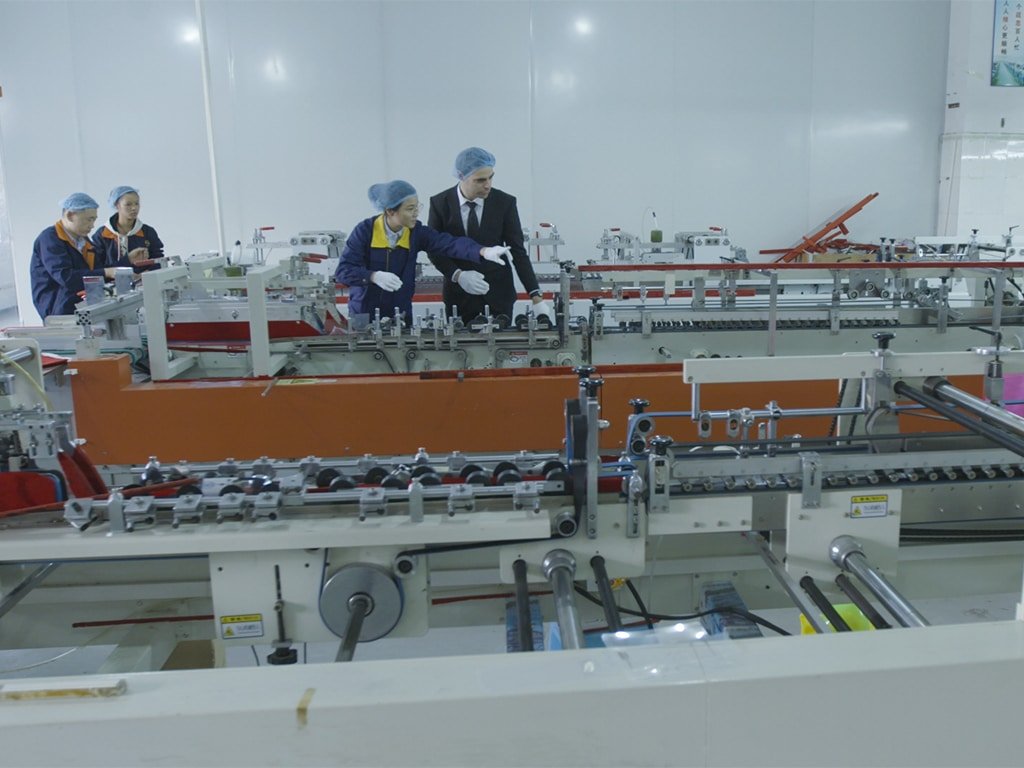
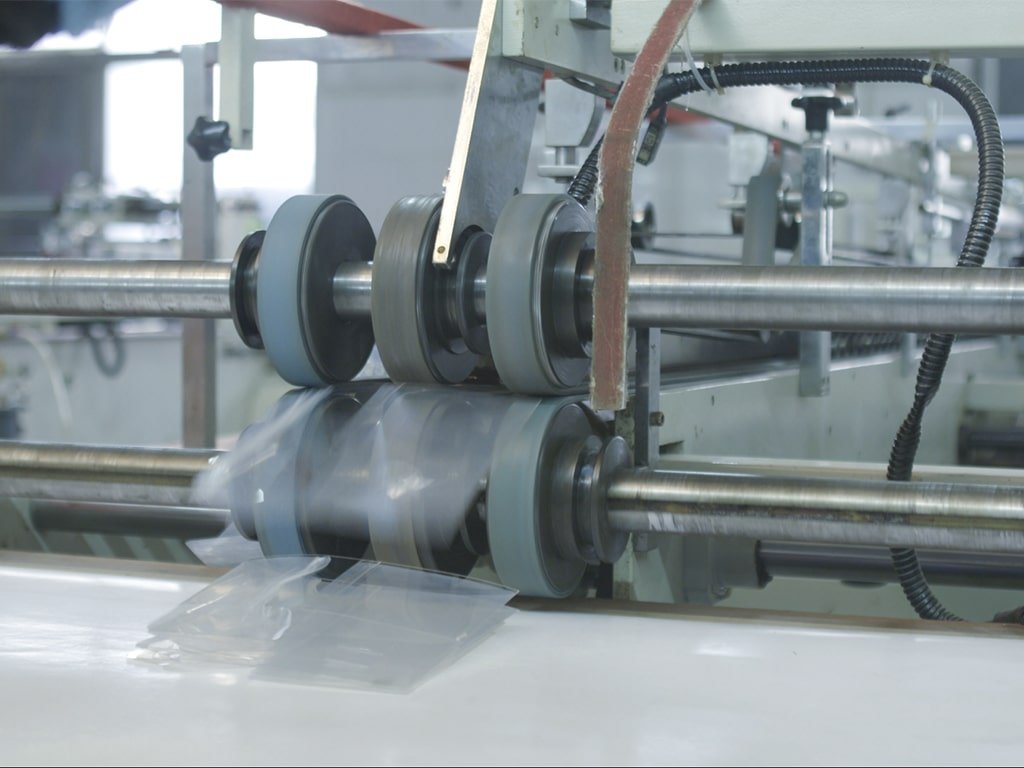
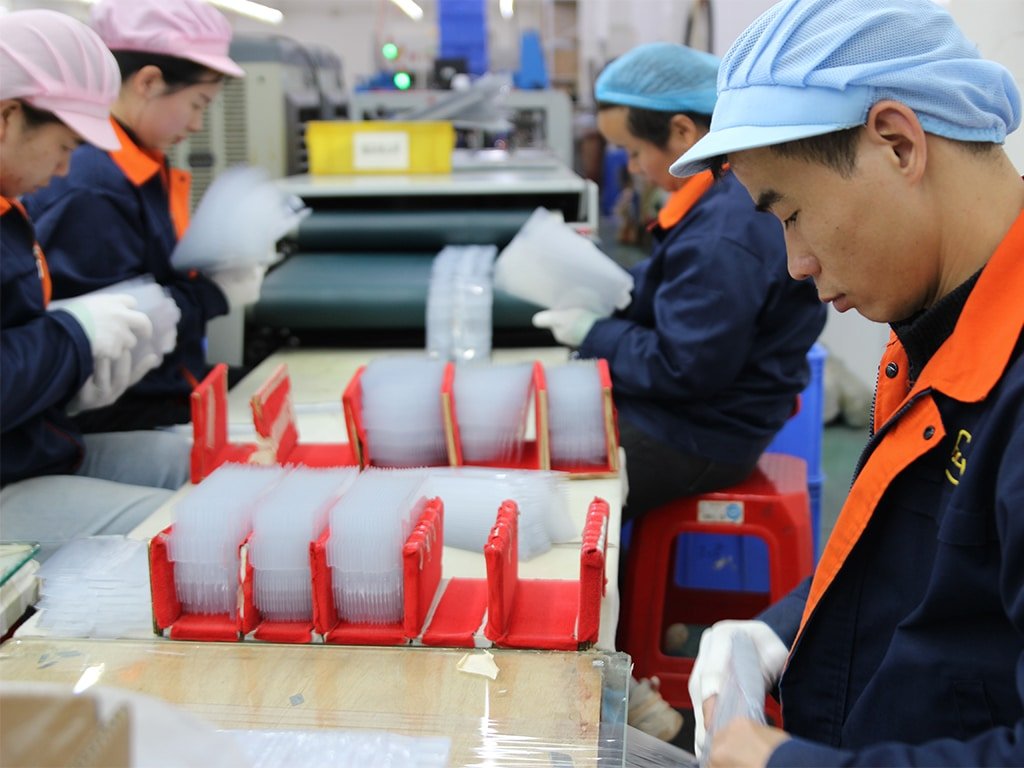
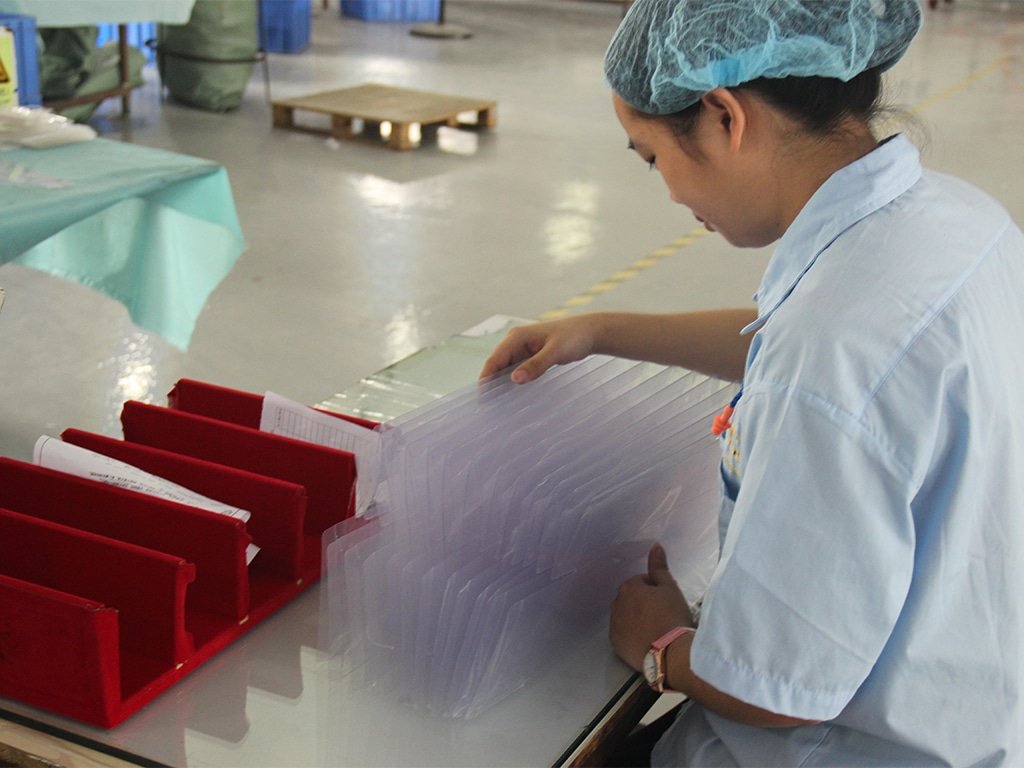
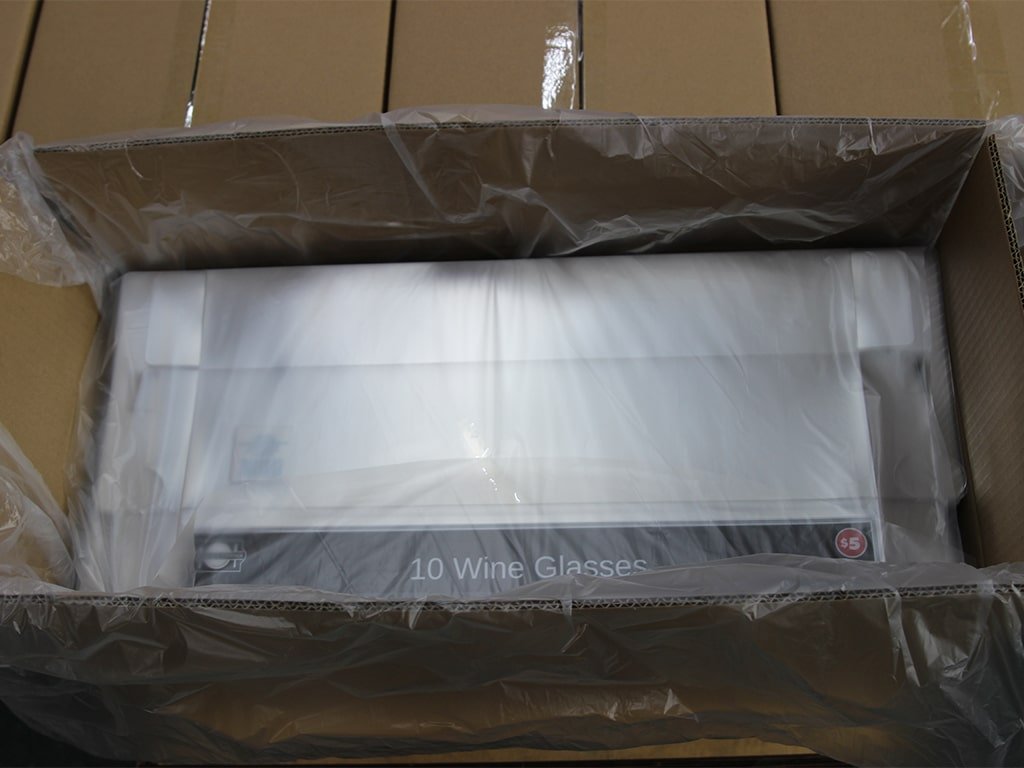
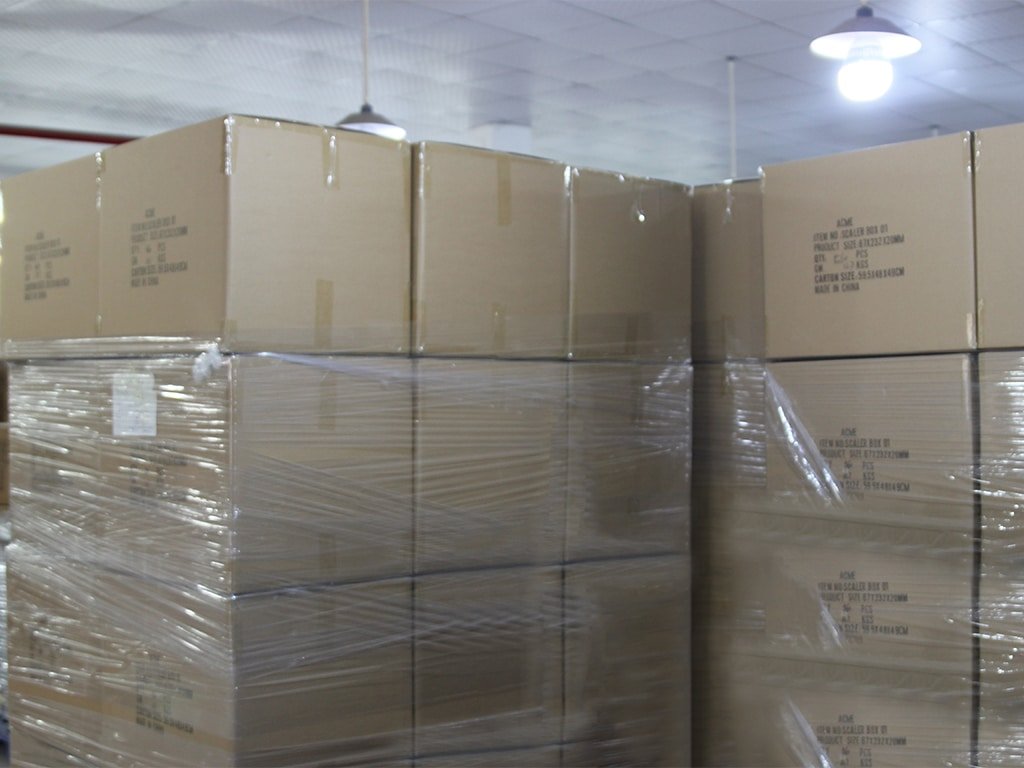
Blister Packaging Production Process
The plastic blister production process involves several steps to create the clear, thermoformed plastic packaging commonly used for consumer goods, electronics, pharmaceuticals, and more. Here’s an overview of the key stages:
1. Material Selection:
Plastic Sheets: The process typically starts with plastic sheets made from materials like PVC (Polyvinyl Chloride), PET (Polyethylene Terephthalate), PP (Polypropylene), or PS (Polystyrene). The choice of material depends on the required durability, clarity, and flexibility.
Thickness: The thickness of the plastic sheet is chosen based on the product’s weight and protection needs.
2. Heating
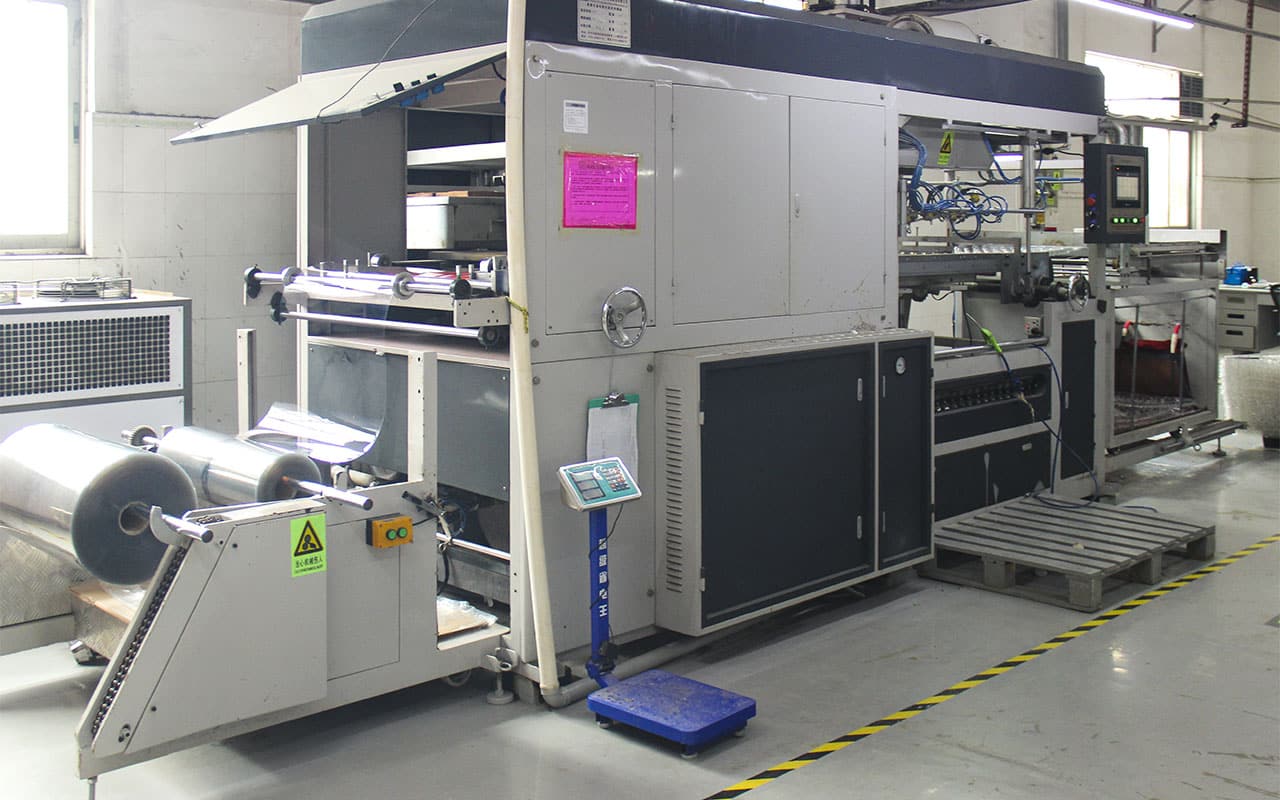
The plastic sheet is fed into a thermoforming machine and heated until it becomes soft and pliable. The heating temperature depends on the type of plastic used.
3. Forming (Thermoforming)
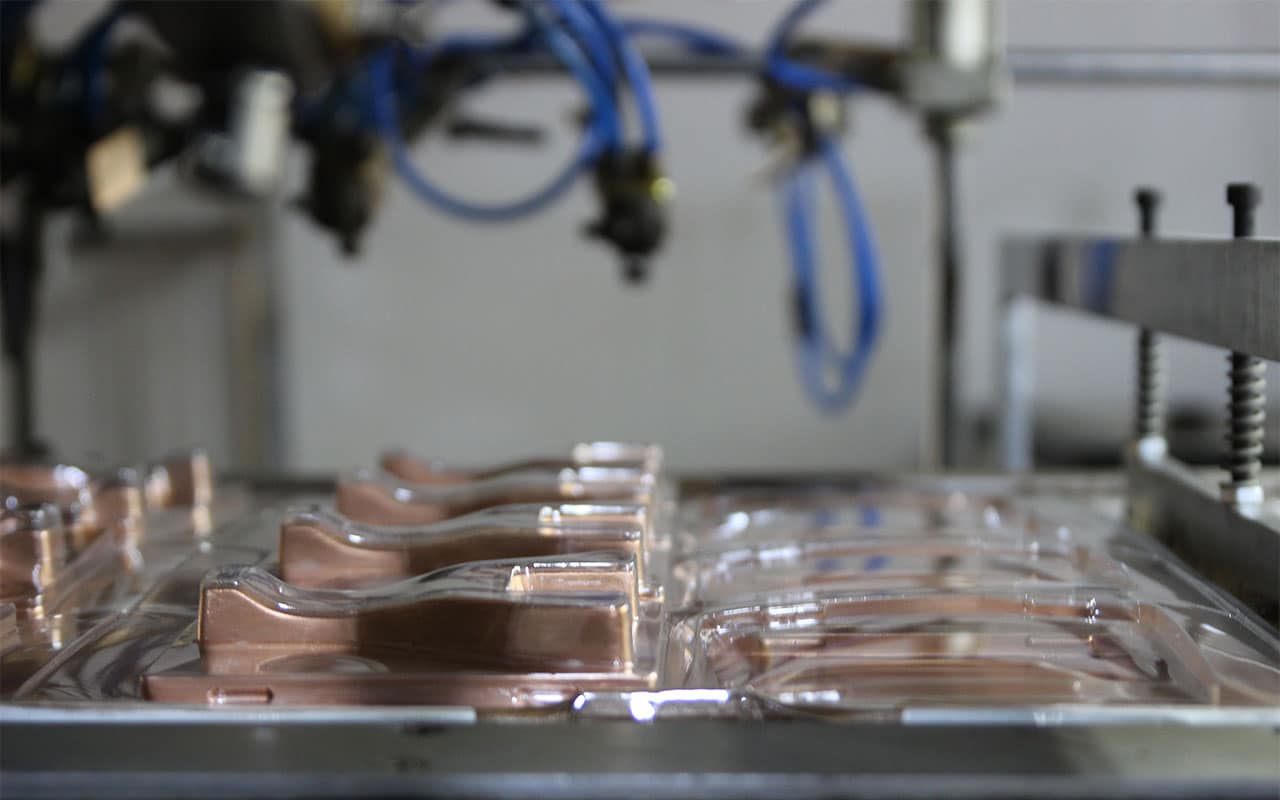
The softened plastic sheet is placed over a mold that has the desired blister shape.
Vacuum forming or pressure forming is used to shape the plastic:
Vacuum Forming: Air is sucked out from beneath the sheet, causing it to conform to the mold.
Pressure Forming: Compressed air is applied on top of the sheet to push it into the mold.
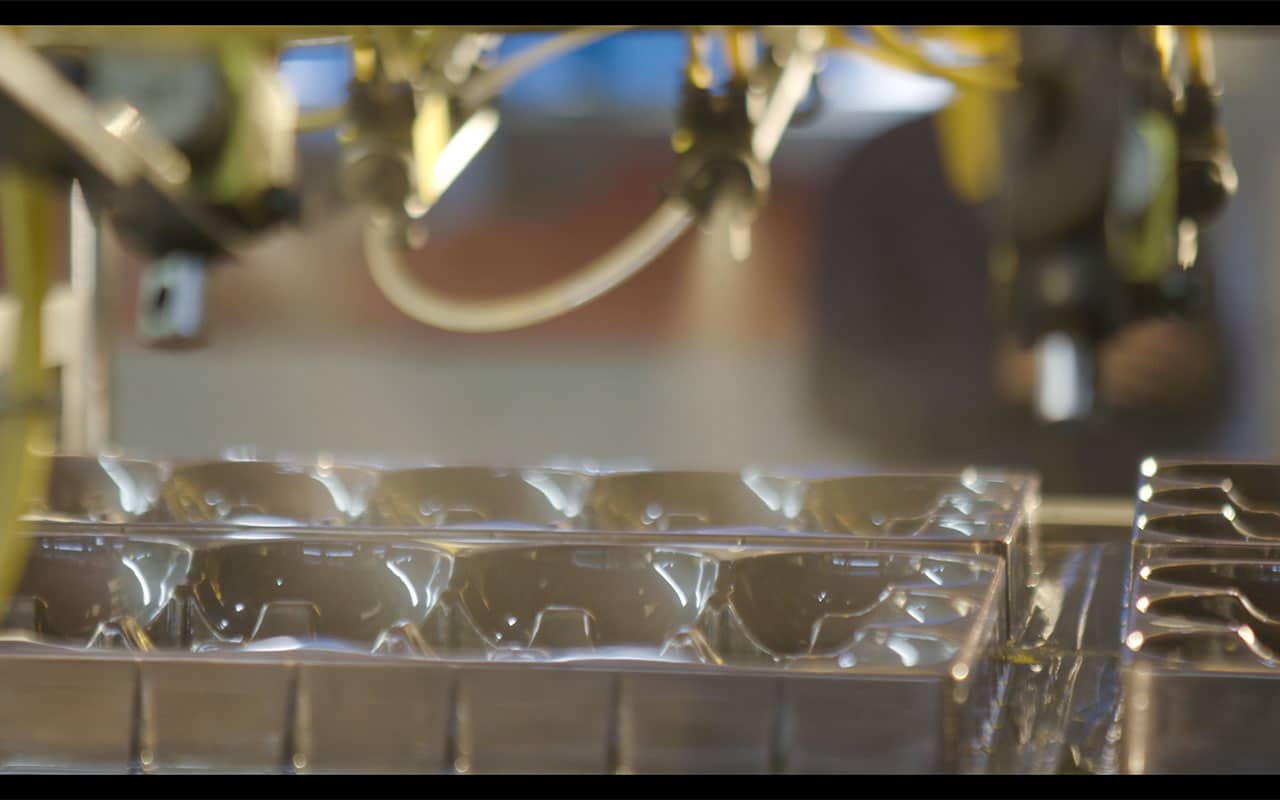
The plastic cools and hardens into the blister shape.
4. Trimming
Excess plastic around the edges of the blister is trimmed off using cutting tools or dies. This step ensures the blister has clean, precise edges.
5. Printing and Labeling (Optional)
If required, the blister pack can be printed with product information, branding, or barcodes. This is often done before the forming process or after trimming.
6. Assembly
The blister is combined with a backing material, such as cardboard, foil, or another plastic sheet, to enclose the product.
The backing is often sealed to the blister using heat or adhesive.
7. Quality Control
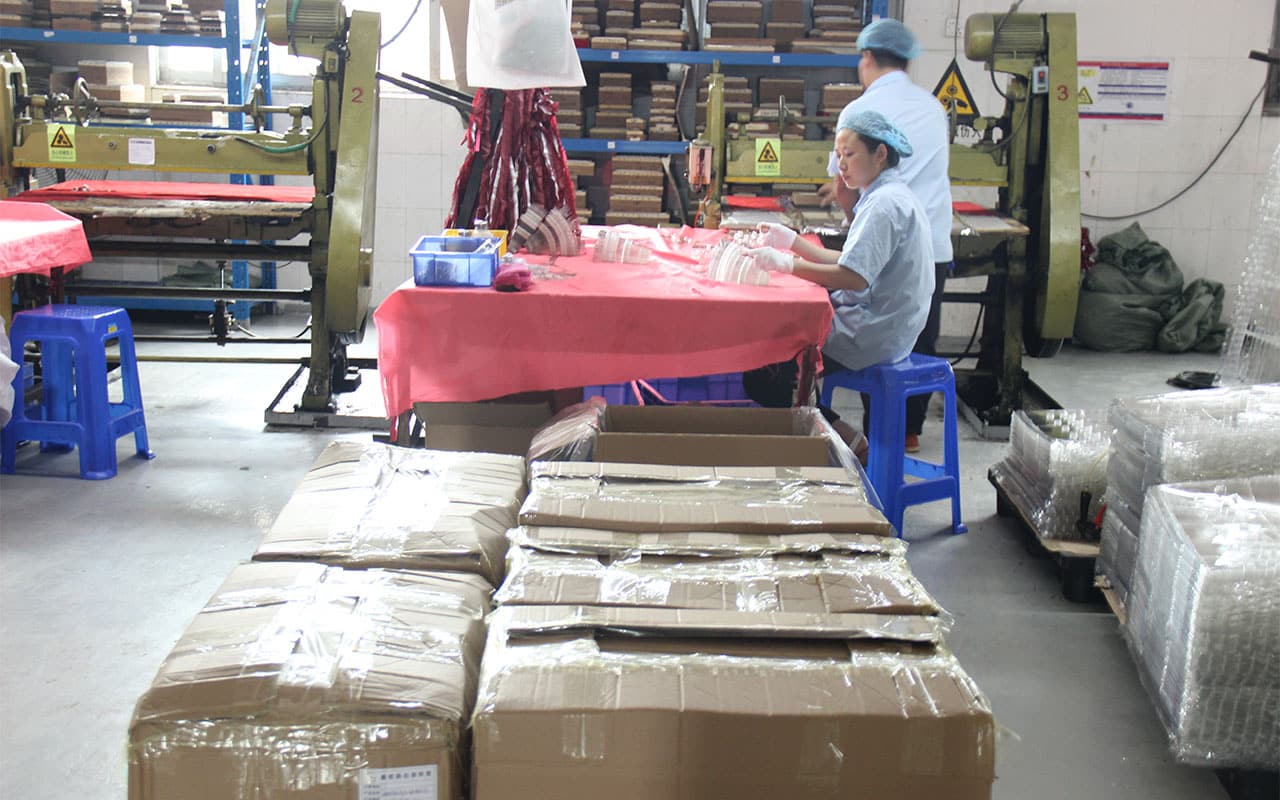
The finished blister packs are inspected for defects, such as uneven forming, sealing issues, or printing errors.
Dimensional checks and strength tests may also be performed.
8. Packaging and Distribution
The completed blister packs are packed into boxes or cartons for shipment to retailers or distributors.
Key Considerations:
Design: The mold design is critical to ensure the blister fits the product perfectly and provides adequate protection.
Sustainability: Many manufacturers are now using recyclable or biodegradable plastics to reduce environmental impact.
Automation: Modern blister production lines are highly automated to improve efficiency and consistency.
This process is widely used due to its versatility, cost-effectiveness, and ability to provide clear, protective packaging for a variety of products.